10FT X 15FT Custom Canopy
10FT X 15FT Custom Canopy
Couldn't load pickup availability
Introducing our 10ft x 10ft custom canopy collection, featuring a range of products designed to provide stylish and functional shelter for any outdoor event or space. Whether you're looking for a custom pop-up tent, canopy tent, or awning, we have the perfect solution to meet your needs.
Custom Pop Up Tents: Our 10ft x 15ft custom pop-up tents are perfect for those who need a portable and easy-to-set-up shelter. Ideal for trade shows, farmers' markets, sporting events, and more, these tents provide instant protection from the elements. With customizable graphics, you can promote your brand or event in style.
Custom Canopy Tents: Our 10ft x 15ft custom canopy tents are a versatile and durable shelter solution for any outdoor occasion. Whether you need shade at a backyard party or protection from the rain at a festival, these tents have you covered. Constructed from high-quality materials, our canopy tents are built to last and can be customized to match your branding or event theme.
Custom Awnings: Add a touch of elegance to your outdoor space with our 10ft x 10ft custom awnings. Perfect for storefronts, restaurants, and outdoor seating areas, these awnings provide shade and protection from the sun while enhancing the aesthetic appeal of your space. With a range of colors and designs to choose from, you can create a custom look that complements your style.
Our 10ft x 15ft custom canopy collection offers a range of products to suit any outdoor shelter need. Whether you're looking for a portable pop-up tent, a durable canopy tent, or a stylish awning, we have the perfect solution for you. Experience the convenience, durability, and style of our custom canopies and elevate your outdoor space or event today.
Full Design Customization
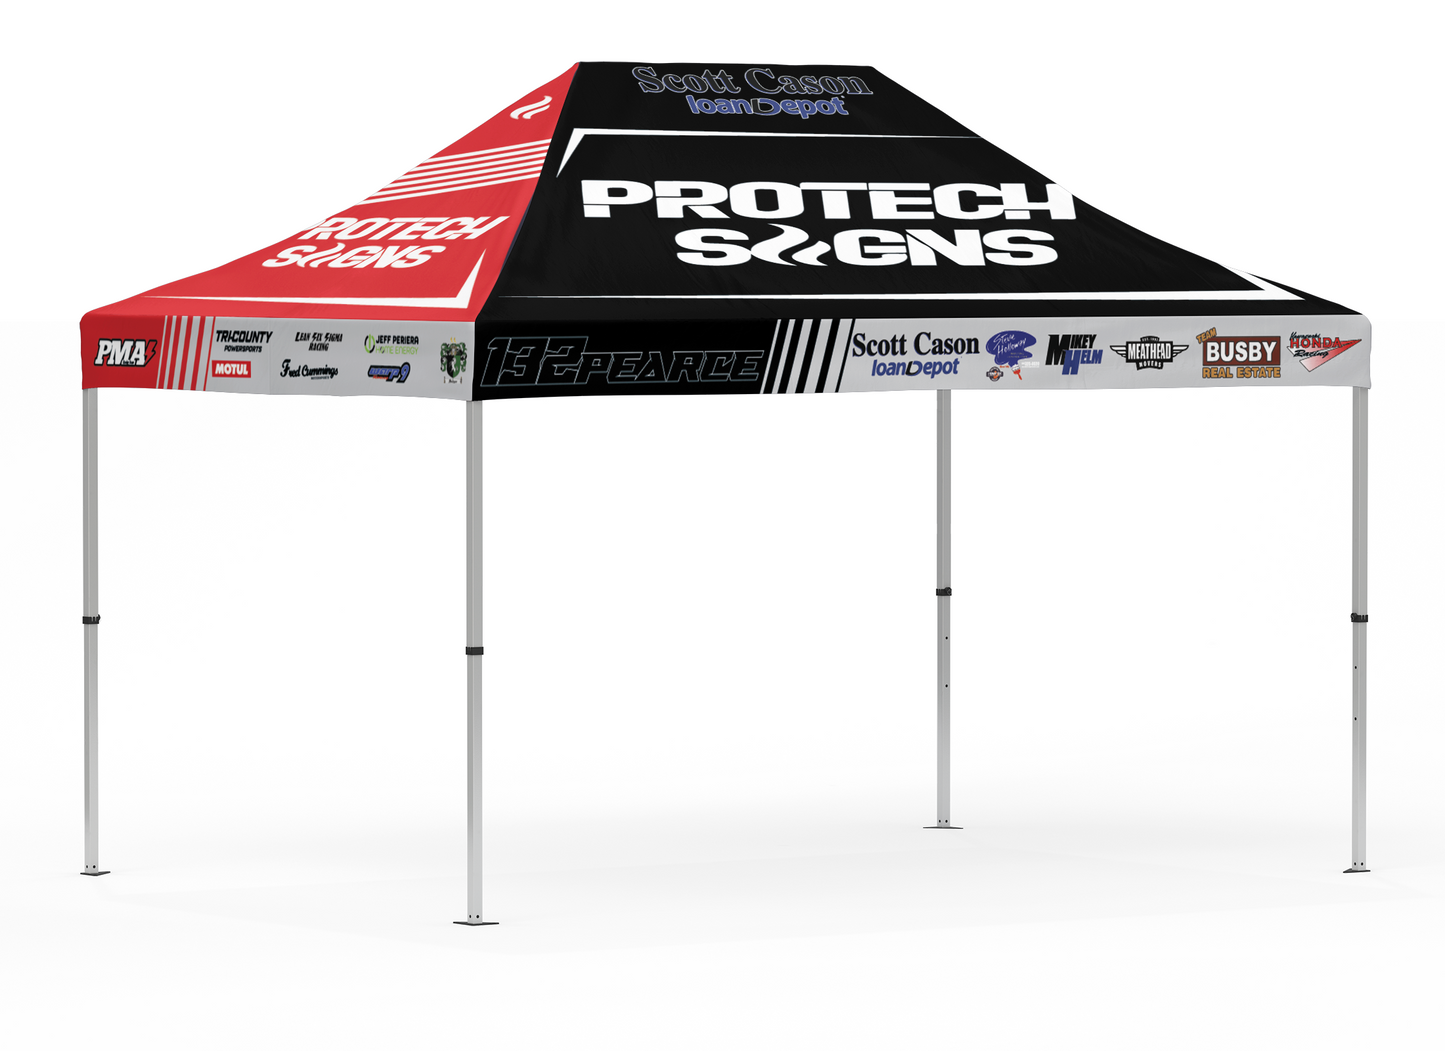
- 40mm Hex Aluminum Frame
- 10'x15' Canopy Top
- Full Design Customization
Add-Ons
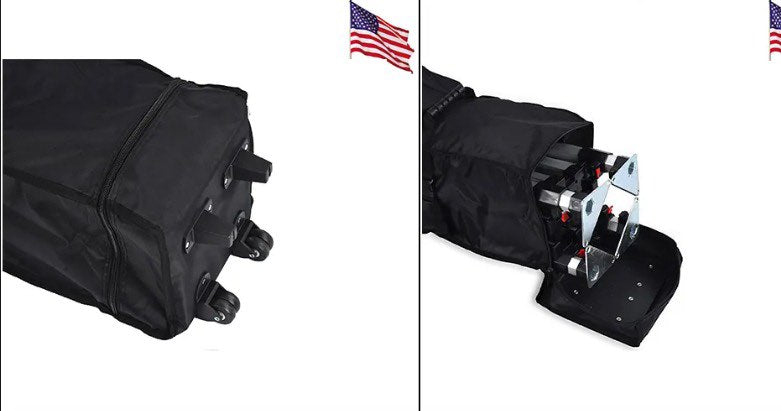
- Deluxe Roller Bag
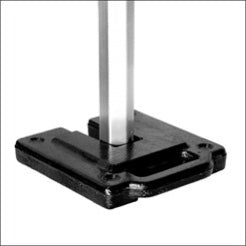
- 4 Rubber Tent Weights
Additional info/ specs:
- Unlimited Full Color Print (pantone/ cmyk)
- 600 Denier Oxford Fabric Dye Subliminated
- 100% UV/ Weather/ Fire Proof
- Pro Tech Signs In House Custom Design Service Provided with Purchase
- Wheel Bag with Full Open Zipper
Order Process
- Add to cart and go through the checkout process
- Once order is placed, a Pro Tech Signs Designer will reach out to you to begin the design process within 24 hours (on weekdays)
- Once designs are approved production will begin. This takes between 7-11 working days
- Shipping can take between 3-7 working days
- Will keep you posted with tracking info once it is available.
How to Setup / Takedown
How to Setup / Takedown
UNBOXING
While unpacking, please avoid using a box cutter to prevent unintentional damage to your fabric. Unfortunately, we will be unable to replace it in such cases, and recreating the entire customized piece will be necessary. Please thoroughly inspect every item to ensure they meet your expectations.
SETTING UP
When gathering your materials for the first time, it's highly advised to have some help. Together, you can protect your materials from getting dirty and ensure they remain undamaged.
1. Expand The Frame 50%: Partially open your frame by walking the legs out.
2. Attach The Top: Start by attaching the corners first. You want to make sure that the corners are perfectly square and fastened as far down the leg as possible. This will help keep your top looking professional and presentable.
3. Fasten The Center Support: At the peak of the canopy top (on the underside), there is a pocket synch fastener that you will want to secure the frame. This can remain attached forever.
4. Expand The Frame: Using help from a friend, start by pushing the corners up into place at the same time on one side of the canopy. Avoid doing them one at a time or diagonally from each other. After all four corners are fastened into position, pull the canopy fabric down securely at the corners for the best presentation. Repeat this step when raising the legs. Avoid raising them one at a time or diagonally.
5. Square and Vertical: Make sure the canopy is perfectly square and the legs are vertically level.
6. Attach the Wall: You can attach the wall to the canopy by fastening the velco on the top and using the velcro straps to secure to the canopy legs.
7. Final Steps: Now, you can secure the top to the frame with the velcro straps located at the center of the valances. Then, take notice of the fishing reel-style crank at the center point of the frame. Turn this clockwise until it is firm. If it snaps really loud, you've gone too far. Nothing is damaged don't worry, just make sure that you get used to the firmness for future use.
TAKING DOWN
1. First Steps: First, remove the velcro straps from the frame valances. Take 5-10 counterclockwise turns out of the vertical support crank. Clean/ wipe down the canopy legs. More importantly, the bottom (male) pieces. Remove the canopy wall and fold it nicely.
2. Lower The Canopy: Using a friend, make sure not to lower one leg at a time or two legs that are diagonal from each other, carefully and not forcefully, lower the canopy legs.
3. Collapse The Frame: Once the legs are completely retracted, press the corner fasteners to disengage. Once all four corners are released, you can close the canopy by pushing all four corners into the center.
4. Store In Bag: Now you can safely store your canopy in one of our full open zip roller bags. The wall will fit inside of the pocket on the front side of the bag.